We use Google Analytics to measure the performance of our website. We do not store any personal data and your IP address is anonymised.
Setting up the Zoiper mobile app with Dial 9
Using Zoiper on your mobile device allows you to make and receive calls from your Dial 9 account, using your mobile phone. Zoiper can be installed from your mobile app store and should be referred to as Zoiper Lite.
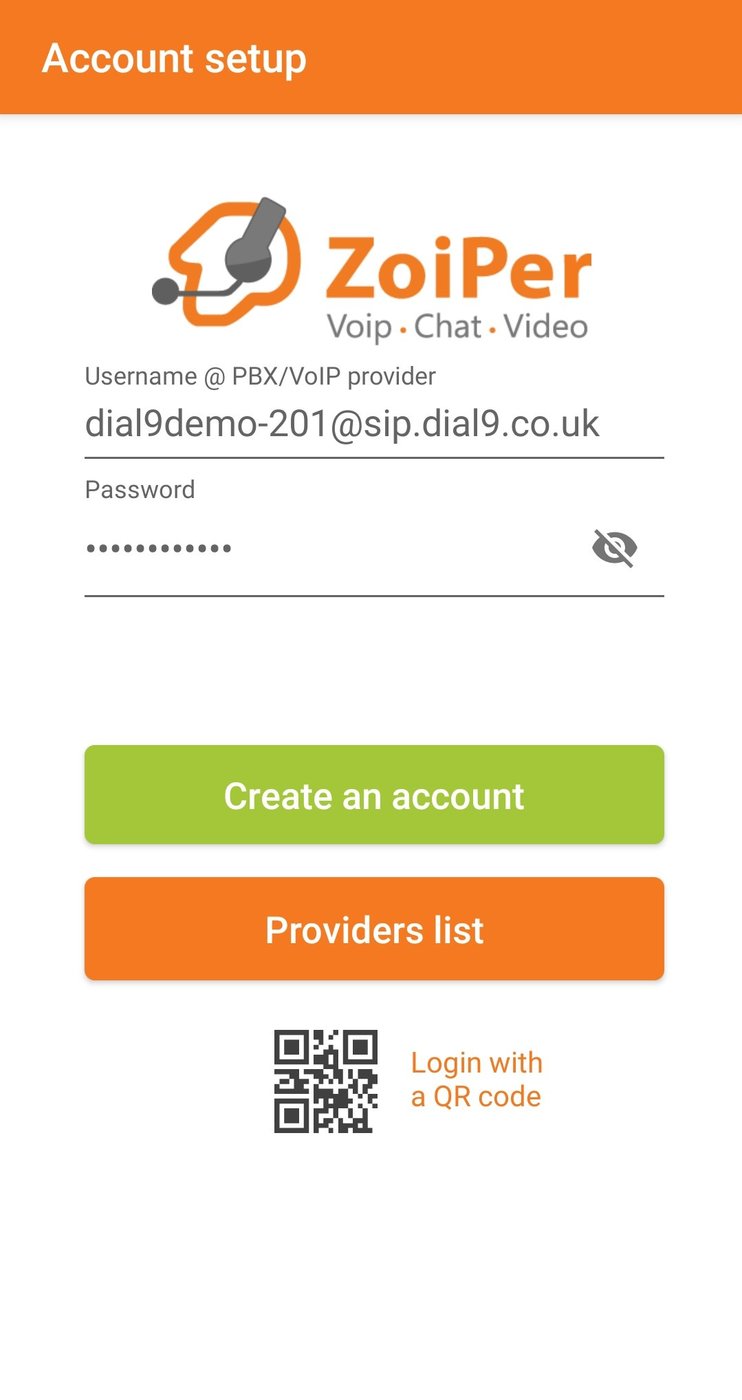
After Zoiper has been installed and opened you will be asked for your extension Username and Password, these can be found in the Dial 9 Portal. Once you have entered the details press Create an account.

When asked, you will need to enter sip.dial9.co.uk as hostname and then press Next.

Press Skip on the authentication username and outbound proxy page.
Zoiper will now run some connection tests, when the tests are complete the screen should match the screenshot below. Although SIP UDP may show as Untested, Please select SIP UDP and then press Finish.
If all options show as Not found, this is usually due to an issue with the extension login details. Please go back and check these details.

You will need to accept the permission that allows Zoiper to make and manage calls, and ignore battery optimisation.
Next you will need to allow Zoiper to alter the phones do not disturb state. This is to stop regular mobile calls interrupting Zoiper calls.
Zoiper configuration is now complete, please test.
If you have any difficulties with call audio, please go to Settings and then Accounts. Select your account and then scroll down and select Network Settings. You will now need to change Transport Type to TCP. Please test once this setting has been changed to TCP. If the change has not resolved your issue, please contact support with some call examples.
Battery optimisation
If you are having difficulties receiving calls it may be that the app has been shut down by your mobile operating system to save battery.
In Zoiper you have additional options that will help keep the app active, however, this may increase battery usage.
To enable these options please select Settings and then Connectivity. Keep-Alive WiFi and Run in Background should be checked, along with Constant Wake Lock under Background Mode.
You can then go back to Settings, select Advanced and make sure Start with Android is checked.