We use Google Analytics to measure the performance of our website. We do not store any personal data and your IP address is anonymised.
Setting up a remote phonebook on a Yealink phone
This guide assumes that you haven't used our provisioning service, whereby the phonebook is automatically configured for you, and are setting up the phone manually.
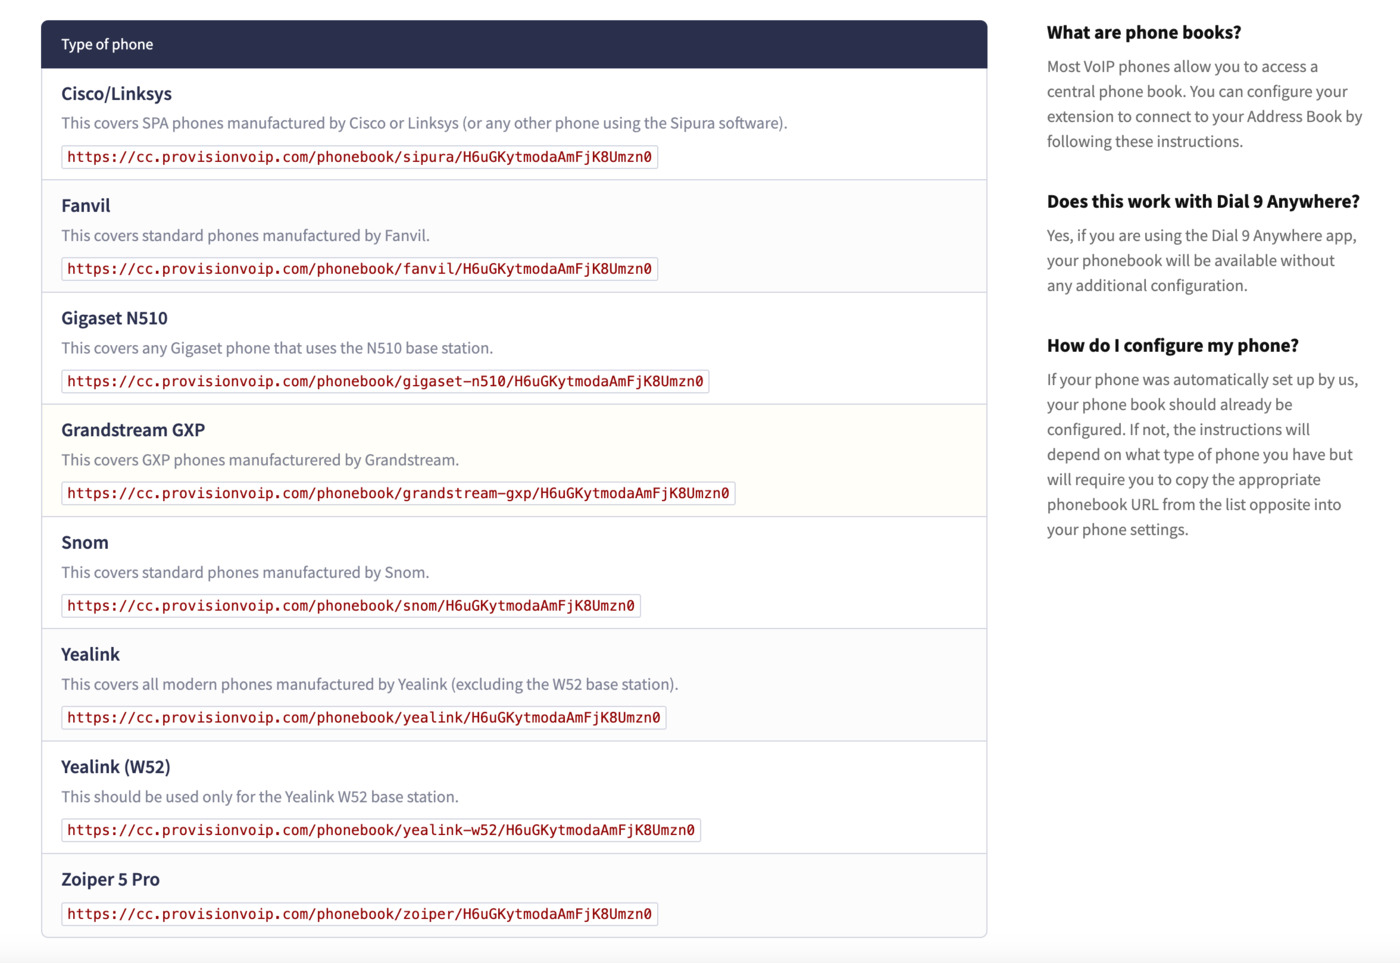
Retrieving the Remote Phonebook URL
The remote phone book URL can be found in the extension section, as shown in our guide here

Adding the Phonebook URL to your phone
Next, you'll need to login to the phone's web interface. Press the OK button on the front of the phone, then you'll see an IP address. Enter this IP address directly in your browser, then you'll be presented with a login screen. If you haven't changed the default password previously, you can login using admin as both the username and password.
Next, head to the Directory tab, then Remote Phonebook on the left hand side, and paste the URL in the first available entry in the table:

Enter a simple Display Name for the directory, then click Confirm below the table.
Accessing the directory from your phone
Once you've configured the remote phonebook, you'll need to be able to access it easily from your phone. By default, the Directory soft key below the screen will direct to the local phonebook, but you can easily change this. Within the phone's web interface, head to the DSSKey tab, then Programmable Key on the left hand side, and update Soft Key 2:

Change the initial Type column to XML Phonebook, then enter Directory in the label. Click Confirm at the bottom of the page to finish, after which you should find that upon pressing the Directory key on the phone, your remote phonebook will be displayed.